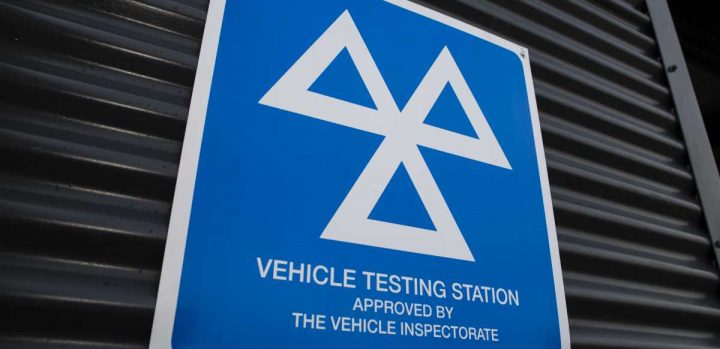
Faulty electrical equipment accounts for the majority of defects found during MOT tests, according to new research.
The research, conducted by Vansdirect, looked at the MOT testing data for Great Britain over the last 12 months, ranking the most common defects found in class 3 and 4 vehicles.
The subsequent analysis found that lamps, reflectors, and electrical equipment were the most common defects, accounting for 25.32% of MOT defects in the last year.
The data also revealed that MOT tests frequently found defects with suspension (19.34%), brakes (16.27%), and tyres (12.55%).
And while finding a couple of defects is common for older vehicles, unexpected repairs can become costly. That’s why Vansdirect have compiled a list of defect checks you can complete before your next MOT, preparing you for the potential findings:
1.Replace your lights
Before your MOT, take a moment to check all your lights, including brake and reverse lights. It’s as simple as switching them on and off, asking a friend or family member to confirm whether they’re working.
If there is an issue, you can try changing the lightbulb yourself to get ahead of the problem. However, should that quick fix not work, it may signal a wider electrical defect, which might require a trip to the mechanic.
2.Look over your tyres
There are a couple of quick tyre checks you can complete to ensure they are in tip-top condition for your MOT test.
First, you should check your current tyre pressure against your vehicle handbook. If you need to adjust accordingly, then head to your local petrol station to either inflate or deflate your tyres yourself.
You should also take the opportunity to check your tyre tread depth. All you need to do is place a 20p coin in the main tread channels of your tyre – if you can see any part of the coin’s outer band, your tread is too shallow and the entire tyre needs replacing.
Alternatively, if you’d like a second opinion, then book a free tyre check as soon as possible.
3.Test your suspension
While it’s a little trickier to check than your tyres or lights, you should also test your suspension before an MOT test.
Start by looking at your tyre tread again. If you notice that either the inside or outside of the tread is wearing at a faster rate, then this could signal an issue with your suspension.
You can also try the bounce test. This is really simple, all you need to do is push down on the front of your vehicle (which compresses the suspension) to see how it recovers. A healthy suspension system should right itself in a single bounce, whereas faulty suspension will take more than one bounce to settle again.
4.Examine your brakes
When it comes to potentially faulty brakes, you’ll likely have already noticed issues while driving your vehicle.
For example, if you notice that your van pulls to one side slightly when you apply the brakes, then this suggests a major defect that needs to be addressed immediately. And while you can check your brake pads for excessive wear, we would recommend hiring a professional mechanic for this particular task.
However, if you suspect your brakes are faulty or have an issue, then don’t wait until your MOT test. Always take your vehicle in to the garage as soon as possible, just to be on the safe side.
5.Check your visibility
The MOT windscreen test includes everything that could impact the driver’s view of the road, from the condition of the windscreen to large furry dice hanging from the mirror.
And while removing novelty dice is a simple enough task, fixing chips in your windscreen needs professional attention. Any chip that’s larger than 40mm will instantly result in a failed MOT. Additionally, if the windscreen chip is on the driver’s side and is covered by the wiper, it can be no larger than 10mm.
Make sure you address these windscreen chips while they are still small and cheap to fix, rather than needing to replace the entire windscreen. The wiper blades and wash system must also work as required and not be damaged or fail to pump onto the screen.
This is not a complete list of potential fails but drivers, fleet managers and owners should act when warning lights illuminate on their vehicles’ instruments, particularly if involving exhaust gas particulate filters.


